3 RStudio Interface Components
Only move on to this section when you have finished the previous reading.
3.1 Learning Outcomes
By the end of this section you should:
be familiar with the different panes in RStudio
understand how packages are installed and used within R
be able to use some of the most common keyboard shortcuts in R
3.2 RStudio Interface
The RStudio interface contains a number of different windows. Many of these can be moved around, and you can create different working environments that best suit your preferences and purposes.
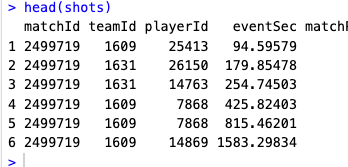
Console
The Console window is where you see the commands that have been executed in R.
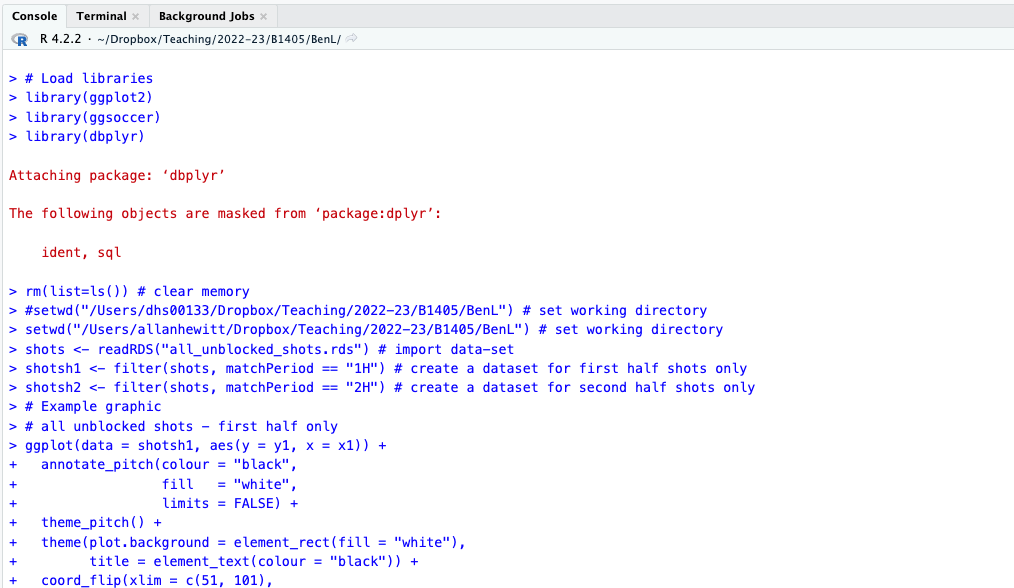
You can type commands directly into the Console, for example here I have entered the command ‘head(shots)’:
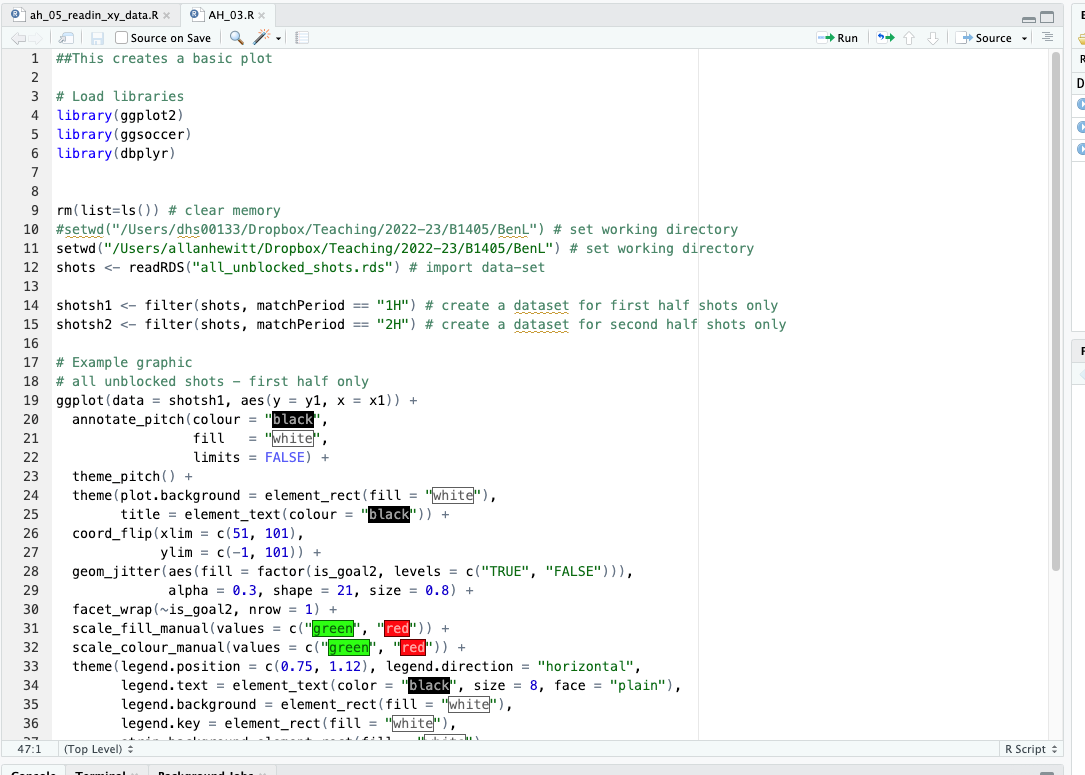
Script editor
Rather than typing commands directly into the Console window, you can write scripts in the Script Editor. You can run full scripts from here, or work through scripts in sections. You can also save and load scripts, and you can call other scripts from within your script.
It’s likely that you will spend most of your time using the Script editor.
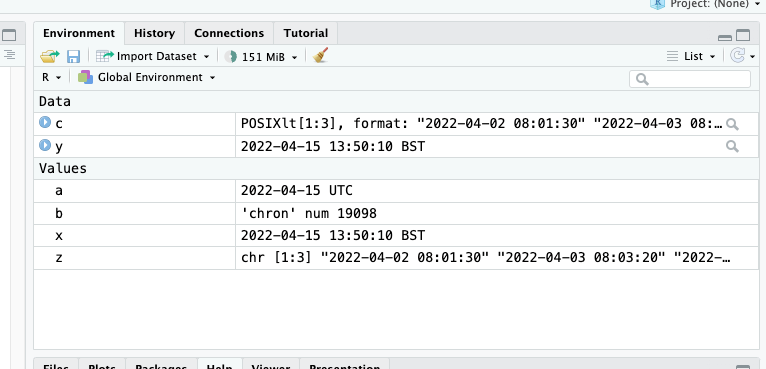
Environment
The Environment window allows you to view variables, data, and functions in the current workspace:
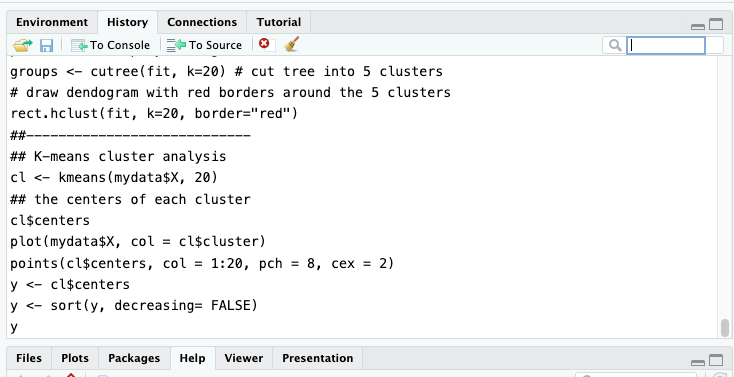
History
The History window allows you to access previously executed commands:
Plots
Any plots you create are presented in the Plots window:
All your plots are stored here, and you can easily save and/or export plots from this window.
Packages
When you load RStudio (or R), you automatically load the base package. This lets you do lots of things, but we often want to take advantage of the many additional packages that have been created to extend R’s functionality.
One of the issues you may run into when working with someone else’s R code is that they have used a package that you don’t have installed locally. It’s always worth checking what packages they’ve used, by looking at the first few lines of each script.
First, you need to download and install the package you wish to use. You only need to do this once on each computer you are using.
Go to Tools -> Install Packages.
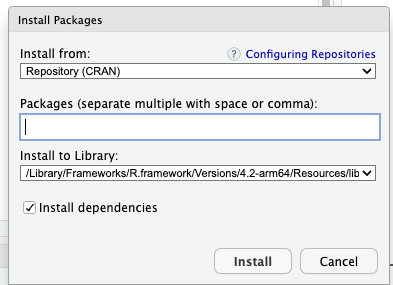
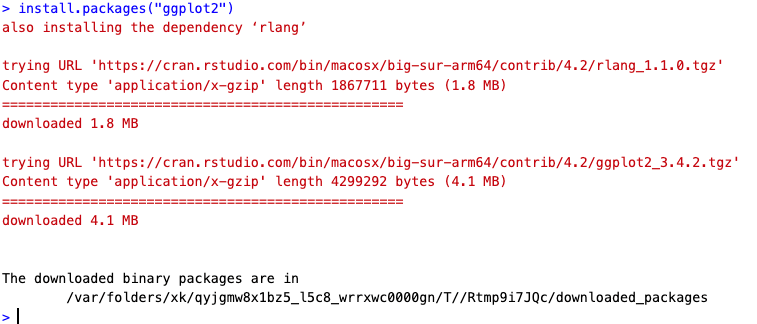
Type the name of the package you wish to install. Here, I’m going to install a package called ggplot2.
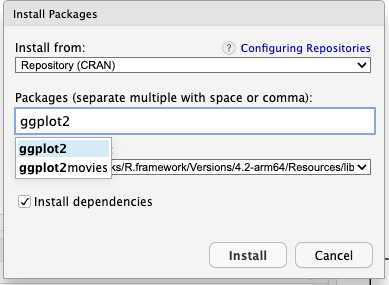
Now, click ‘install’ and the package will install to your computer. Remember, you only have to do this once on each computer you use. You do need to load the library each time you use it (see below).
Now, each time you wish to use the package, you need to load it. The easiest way to do this is to use the ‘library’ command at the start of your script. For example, these three lines of code load three packages (ggplot2, ggsoccer, dbplyr). Those packages are then available to you. If you don’t have them installed, you’ll need to download them first.
library(ggplot2) # loads the ggplot2 package, assuming you have it installed.
library(ggsoccer) # loads the ggsoccer package
library(dbplyr) # loads the dbplyr package
Also note that, in the code above, the hash sign ‘#’ is used in R to indicate a comment, rather than a line of code to be executed.
You need to put a hash at the start of every line you wish to comment.
Help when using packages
R’s in-built documentation is incredibly helpful for understanding what a specific function does, its inputs, outputs, and potential caveats. To access the documentation for a particular function in R, you can use the help() function or simply type ?.
Example:
# Access documentation for the "mean" function
help(mean)

# or you can use
?mean
You can also use the help() function to get information on datasets in R (note that R comes with a number of existing datasets built-in, which you can use to practice on).
# Access documentation for the "mtcars" dataset
help(mtcars)
Help with libraries
As you know, the library() function in R is used to load packages. Once a package is loaded, you can use help() or ? to access its documentation.
# Load the 'ggplot2' package
library(ggplot2)

# Access its documentation
help(package = "ggplot2")
This will provide a list of all functions available in the ggplot2 package, and you can then dive deeper into the function you’re interested in.
Some packages come with vignettes - detailed documents providing a comprehensive overview of the package, including illustrative examples. You can access vignettes using the vignette() function.
# List all vignettes for 'ggplot2' package
vignette(package="ggplot2")
To access a specific vignette, just provide its name:
# Access the 'ggplot2-specs' vignette
vignette("ggplot2-specs")
3.3 Creating and Managing RStudio Projects
Creating a new RStudio project
Steps to create a new project
Creating a new RStudio project is relatively straightforward. Follow the steps below:
Open RStudio.
In the top-right corner of the RStudio interface, click on File > New Project. This will open a new dialog box.
Choose New Directory if you want to create a project in a new directory, or choose Existing Directory if you want to add a project to a pre-existing directory.
If you choose New Directory, you will need to choose the type of project to create. For most purposes, New Project is sufficient.
Provide a directory name for your project. This will be the folder where your project is stored.
Browse to the location where you want to create the project and click on Create Project.
Importance of creating a separate project for each new work
You are likely to create a large number of R scripts and files during your MSc SDA programme. It can sometimes be tricky to keep track of everything, especially if you wish to return to something at a later date.
Therefore, I recommend that you create a new R Project for each analysis or tutorial you conduct.
Creating separate RStudio projects for each new work has a number advantages:
Isolation: Each project operates independently of others. This means that workspace variables, loaded packages, and options are specific to each project, reducing the chance of conflicts between different works.
Reproducibility: By keeping the data, code, and outputs for a project in one place, it’s easier for others (or your future self) to reproduce your work. You dissertation adviser, for example, may wish to look at your analysis.
Organization: Separate projects help keep your work organised. Each project is stored in its own directory, making it easier to manage files and resources related to the project.
Example: Creating a new project called ‘Data_Analysis’
Let’s walk through creating a new project named ‘Data_Analysis’.
Open RStudio.
Click on File > New Project.
Choose New Directory.
Choose New Project.
For the directory name, enter Data_Analysis.
Browse to your desired location and click Create Project.
This will create a new RStudio project named ‘Data_Analysis’ in your chosen location. All files, scripts, and data associated with this project should be stored in this directory.
Organizing files and folders within a project
Creating and Saving R Scripts within a Project
Creating a new R script is simple: go to File > New File > R Script
By default, when you save this file it will be stored in the project you are currently working in (which is shown at the top of the RStudio window).
Installing and Using Packages in a Project
We have previously noted the importance of packages. Remember, you need to have the package installed locally if you want to use it.
You can ensure this takes place within your script using the following:
# Installing dplyr package from CRAN
install.packages("dplyr")
# Installing multiple packages
install.packages(c("dplyr", "ggplot2", "tidyverse"))You can then call the package at the start of your script:
# Loading dplyr package
library(dplyr)
You can call multiple packages in the same code:
# Loading multiple packages
packages <- c("dplyr", "ggplot2", "tidyverse")
lapply(packages, library, character.only = TRUE)
3.4 Best Practices for RStudio Project Management
Structure and organise projects for better workflow (use consistent filenames, save all your files in the same folder, create versions of files rather than overwriting). I tend to use underscores to create meaningful filenames (e.g. ‘ah_tutorial1_dataset1_april2023.csv’)
Regularly saving and backing up project work - see below.
Saving RStudio projects
At this level, you should be well aware of the importance of making regular backups of your work, and saving incremental versions of your files. Please make sure you are familiar with these concepts, and that you always have access to backup versions of your work (whether data, R scripts, essays etc.)
3.5 Keyboard Shortcuts and Productivity Tips
Here are some helpful keyboard shortcuts that will save you some time:
General
Open a new file: Ctrl + Shift + N (Windows/Linux), Cmd + Shift + N (Mac)
Save the current file: Ctrl + S (Windows/Linux), Cmd + S (Mac)
Open a new project: Ctrl + Shift + P (Windows/Linux), Cmd + Shift + P (Mac)
Switch between tabs: Ctrl + Tab (Windows/Linux), Cmd + Shift + { or } (Mac)
Console and Script Editor}
Run the current line or selection: Ctrl + Enter (Windows/Linux), Cmd + Enter (Mac)
Run the entire script: Ctrl + Shift + Enter (Windows/Linux), Cmd + Shift + Enter (Mac)
Clear the console: Ctrl + L (Windows/Linux), Cmd + L (Mac)
Insert or remove a comment: Ctrl + Shift + C (Windows/Linux), Cmd + Shift + C (Mac)
Code Completion
Auto-complete a function or variable name: Tab
Show function arguments: Ctrl + Shift + Space (Windows/Linux), Cmd + Shift + Space (Mac)
RStudio Panels
Switch to Console panel: Ctrl + 1 (Windows/Linux), Cmd + 1 (Mac)
Switch to Script Editor panel: Ctrl + 2 (Windows/Linux), Cmd + 2 (Mac)
Switch to Environment panel: Ctrl + 3 (Windows/Linux), Cmd + 3 (Mac)
Switch to History panel: Ctrl + 4 (Windows/Linux), Cmd + 4 (Mac)
Toggle between Source and Console panels: Ctrl + Shift + 1 (Windows/Linux), Cmd + Shift + 1 (Mac)
3.6 Further Comments for Learning R
R is an enormously powerful language and, in this module, we’ll only really scratch the surface of what it can do. There are many different ways to approach the same task and you’ll likely develop your own preferences and strategies as you become more familiar with R. You may notice that Xanne and myself will each approach things slightly differently as well!
Some useful resources for learning about R were provided in Section 2.6 (I’m not endorsing these, but simply noting that I have found them useful myself):